Animations
Animations are very important to create a great user experience. Animations allow you to convey physically believable motion in your interface. The Animated API is designed to make it very easy to concisely express a wide variety of interesting animation and interaction patterns in a very performant way. Here are few examples.
Introduction
Animations are a useful tool to boost the user experience and hence it must be utilised to the fullest, meaning there are mainly two ways you can animate components:
• To build from ground up, one can use an animation library such as React Native’s Animated API and animate components such as view or text.
• Import animations from animation tools like After Effects (using Lottie).
Let’s take a look at how we can achieve the former approach in this section with the help of a simple grow animation.
The Grow Effect
First, set up the template section.
<template> |
The template section comprises of an “animated” view and another view wrapped around it. The animated:view has inline variable style properties for height,width, and borderRadius. All of these are provided with an animated value growth which is intialised when the component is created.
All the variable style properties are inline and the others can be provided using the class names as shown below:
<style> |
The first step when starting an animation is to know our start and end frames and how the values of the components need to change in order to move from the start frame to the end.
Start frame
End frame
In this case, since we are creating a simple “grow” effect on a circular element, our start frame will be an animated:view with all the three properties having the value zero. Basically, our start frame will be a blank screen since the growth value is set to zero when the component is created.
The end frame is a view that has the background color blue and height, width, border radius as 200.
Now the goal is to provide a set of values to growth so that the same component is render for each value and appears to “grow”.
The script section is structured in this manner and the function used is also shown below :
<script> |
The above section has the following functions :
•created to initialize our values.
• data function to define the data that will be used in our templates and functions.
• mounted to call the function to animate our component.
• Finally the methods sections which contain all the functions.
Animated.timing type from the Animated API is used to provide values to growth from 0 to 200 in the duration of 1000 milliseconds. Once this line executes, the animated.view starts to show the growth effect where it’s value gradually increses from 0 to 200 and this is possible without setstate because of Vue‘s DOM and data binding.
This is the result of the above code snippet :

Interpolate is another feature that can be used to interpolate any value. An interpolation maps input ranges to output ranges, typically using a linear interpolation but also supports easing functions.
In order to reverse this animation, i.e take the component from end frame to the start frame is as easy as interpolating a value. For this purpose , take another value named growthValue and use it with the Animated.timing as shown below :
<script> |
growthValue.interpolate is a simple mapping to convert a 0-1 range to a 0-200 range which produces the following effect :
Now to repeat the same animation, add a recursive call inside the start function callback by uncommenting the above code.
Spin and Glide Animation
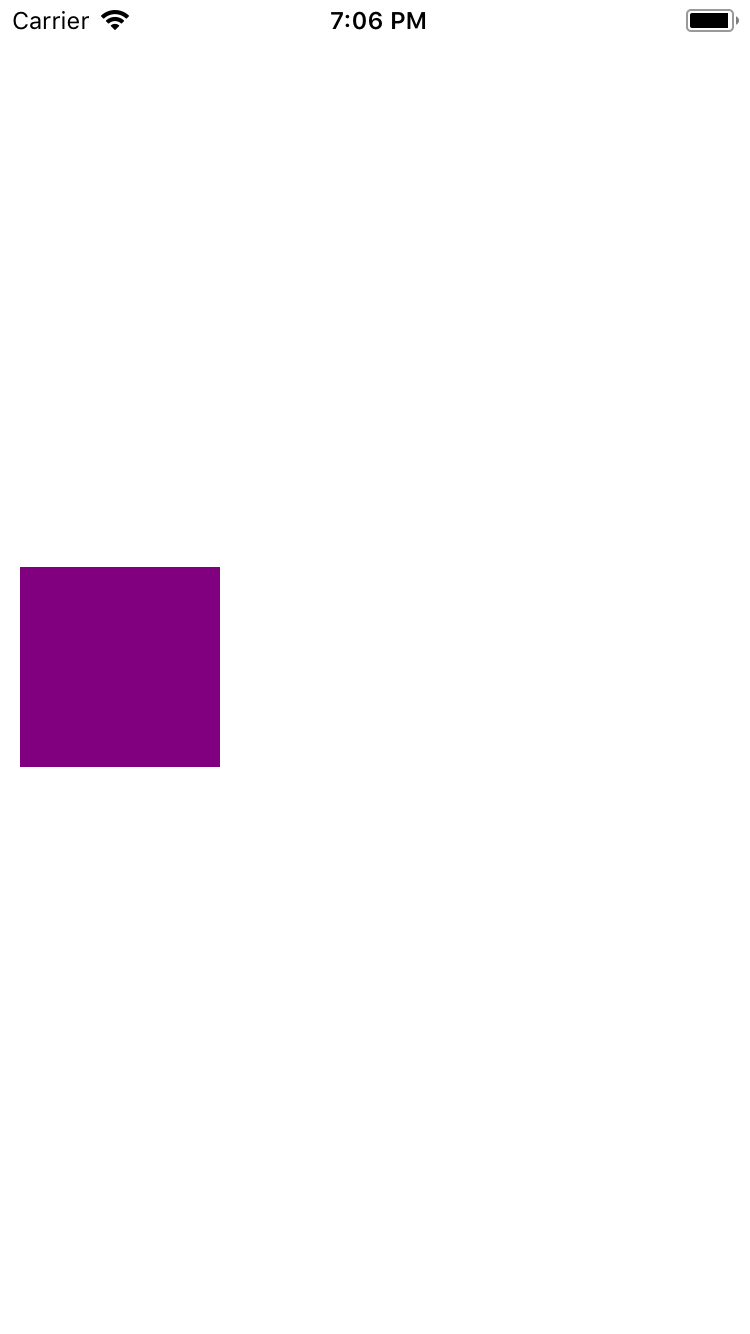
The animation properties in our animatedView component is marginLeft and rotate property of tranform.
<template> |
<style> |
Our data and created functions :
data: function() { |
Let’s take a look at the start and end frames of our animation.
Start frame
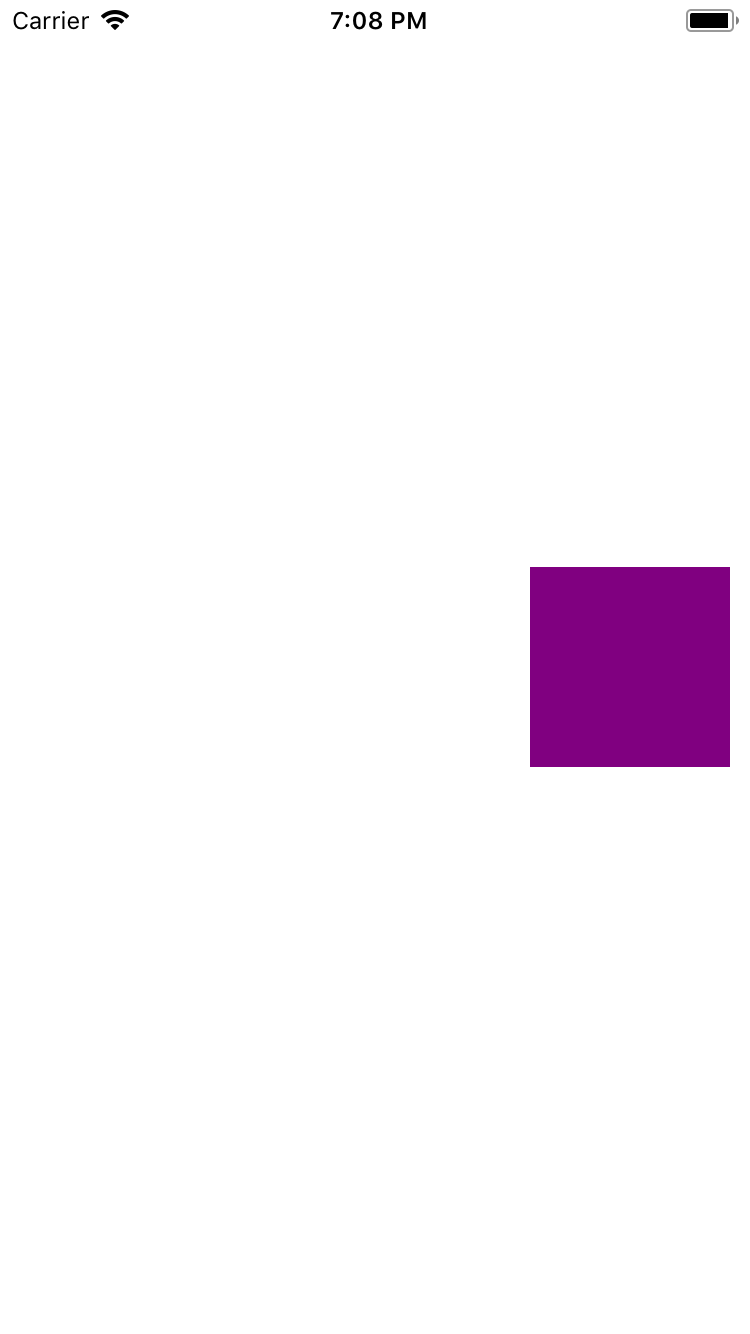
End frame
The animateRotate function makes use of the the animated.sequence and animated.parallel types. Let’s take a look at the code that first spins the container.
animationRotate: function() { |
The spin value interpolates from 0 to 360.

Now, change movingMargin values by adding the following in the above function :
this.movingMargin = this.animatedValueRotate.interpolate({ |
The movingMargin from 0 to the width of the screen.
Flip and Color change animation
The animated properties are :
• marginLeft
• marginTop
• backgroundColor
• transform
<template> |
<style> |
Let’s first build the first half of the animation and then the other half is just reversing the same.
animated.sequence([ |
The above code snippet produces the following :
Notice how all the toValue in each of the animated.timing type have value 1.
Now reversing is as easy as making these to 0 and appending it to animated.sequence.
The completed animation looks like this :

The Loading Animation
The animated property here is marginBottom.
Since all four animations need to happen with some sort of delay and because we are using stagger type, we will have differnt marginBottom values for each of these components.
<template> |
<style> |
Jumping into our animation function ,
animate: function() { |
The animated.stagger executes each of the animation types provided to it at a delay of 100. Meaning the second animation is started after 100 ms after the first one starts and so on.
Stagger Animation
This is simialr to the previous animation but here we combine the staggered animation from the previous step with a spring animation at the end of it. The animated properties include marginLeft and left.
The below snippet shows just one component using these animated properties :
<animatedView |
<style> |
The animation function is here similar to the previous one. But in this, we have combined each of the stagger animations with a spring animation within a sequence.
animate: function() { |
The above produces this which is just a treat to the eyes.